Saturday, September 22, 2018

Process pics for memorial pendant

I created this lovely pendant a short while ago as a memorial piece. Together with a friend of the recipient I started the design process with sketches and resin colour sample making changes until the design looked just right.  Together we were able to create a beautiful pieces that can be worn everyday in memory of their lost loved one.

 
sterling silver sheets prepared! now to cut around the edges, and add the decorative dragonfly.

The top and bottom have been soldered, now to shape and attached the bail.

edges trimmed and the final emery (sanding) is done, now to polish and add layered of resin.

Bright picture to show the transition of colours of resin put in the dragonfly.

Polished piece ready to be send, chain added it is now ready to go!

I embedded an image along with a rose into the back completing this modern variation of a locket pendant.


Thursday, November 2, 2017

Getting lost and turquoise stories.

Lost for breakfast.

I am staring out the passenger window. I have checked the address we were given and noted that there was no directional advice from our starting point other than it would seem like we were heading to nowhere in the desert for twenty minutes until we came across a building and at that point we will have arrived. We are in search of a recommended restaurant that is off the beaten path and ten minutes into our quest we are still driving through streets lined with cream coloured adobe buildings of Santa Fe. We decide to wait out another ten minutes in this direction before we turn around. Time elapses and we realize that we are definitely going in the wrong direction. We turn around and head into what we now know is the correct path to our destination.
   
After an hours search, over breakfast we both agree that wandering meant that we got to see and enjoy more of the city and landscape.

Whenever I find myself anxious over being lost or discouraged that something I am making is not turning out as imagined I often bring myself back to this moment in time to use as a personal manual to deal with my frustrations. I remind myself to take things in, appreciate them and bring what I've seen and experienced to my next destination.

Turquoise
 
This experience came from a trip my dad and I took together to New Mexico. I purchased my first loose turquoises while on that trip. I was an Ontario College of Art and Design student at the time majoring in drawing and painting and I had just begun taking my first jewellery making class. For reading week that year my dad planned a trip for the two of us to New Mexico. Combining my dad's enthusiasm for Arizona's landscape and my intense love for Georgia O'Keeffe's artwork from the area. We mapped out each day before breakfast and when we came across anything of interest we would explore. The Turquoise Museum in Albuquerque, New Mexico was one of those places we stumbled upon and visited.

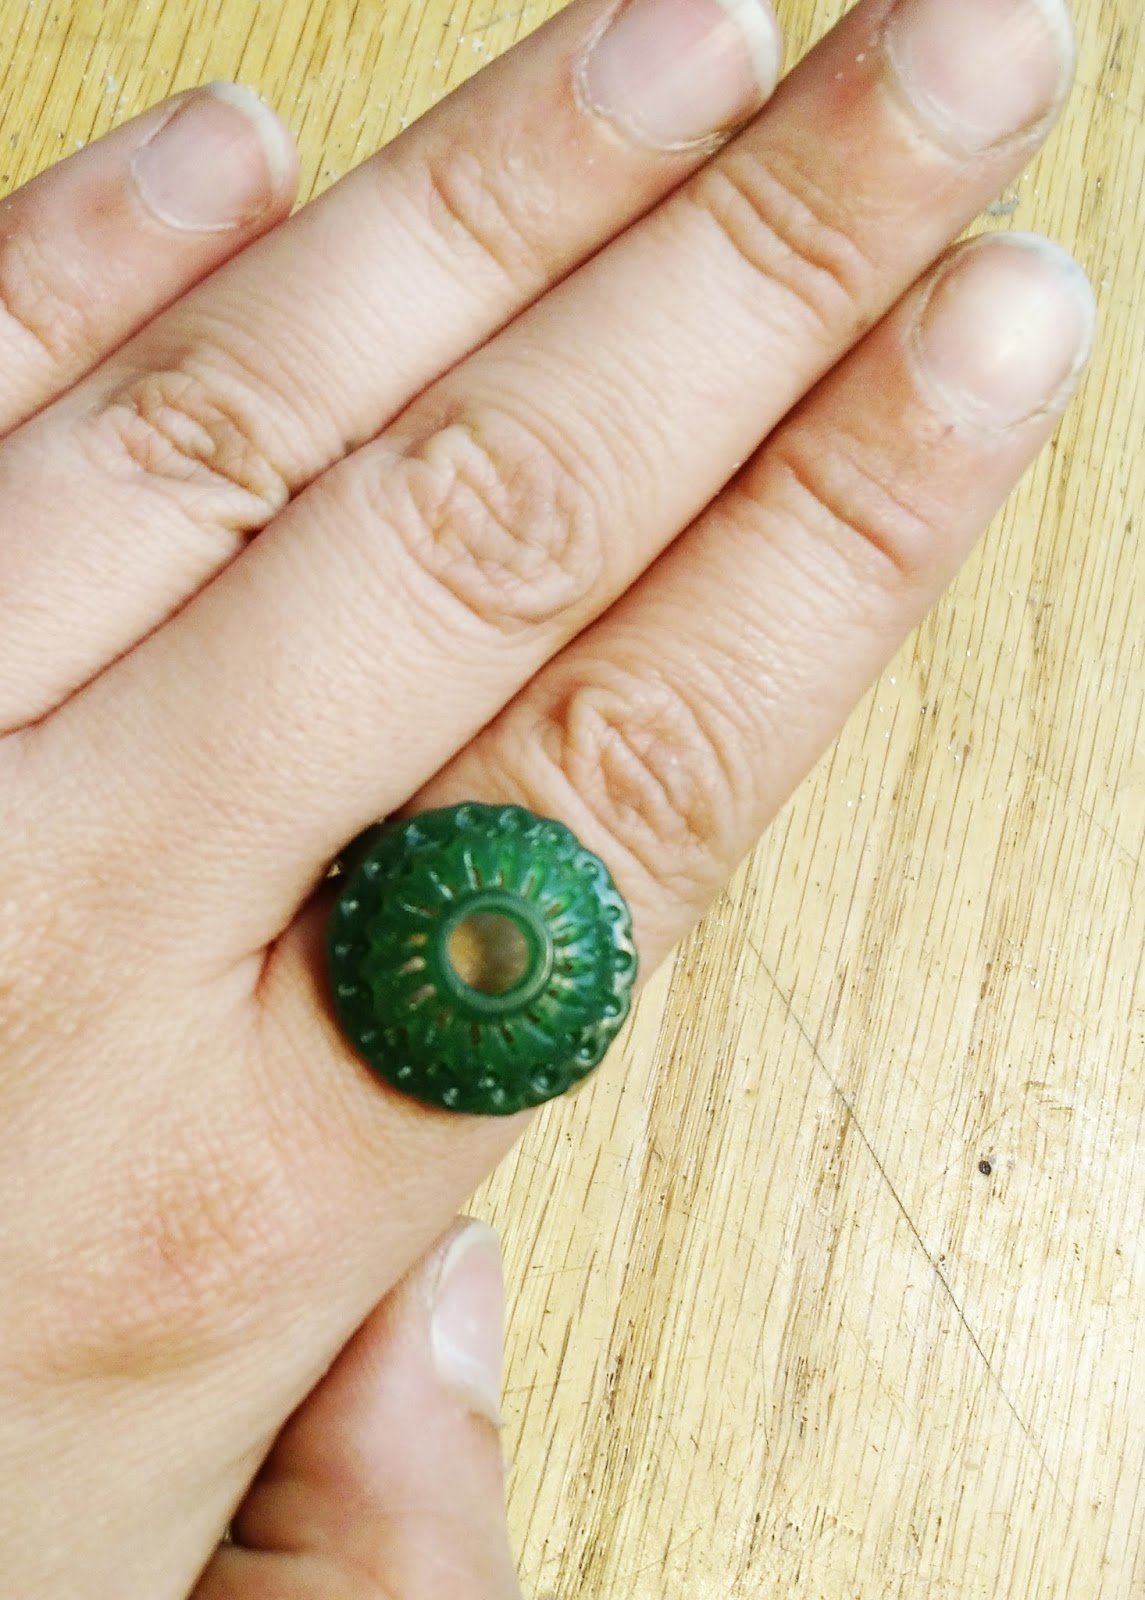
I often keep gems on hand until I come up with the perfect design to use them in. I include short descriptions of which collection/piece each turquoise is used in the photo captions.
 

Turquoise, aquamarines, sterling silver used in Wave collection statement necklace. The turquoise was from Mine #8 in Nevada and I purchased it while in New Mexico while visiting the Turquoise Museum.
Turquoise, seed pearls and resin on sterling silver. This turquoise is also from Mine #8.
Lake No. 3 by Georgia O'Keeffe
Visiting Georgia O'Keeffe at the AGO

As soon as the Georgia O'Keeffe exhibit at the AGO was announced I knew that I would need to visit. I wandered to the AGO shortly after the exhibit opened and then promptly decided to wander Chinatown instead since it was such a nice day out. In early July I tried to visit again and decided the gallery seemed too crowded and walked out before buying a ticket. A couple weeks passed and I became anxious thinking about the fact that I was about to miss the chance to see the exhibit (which ended July 30th) and finally just input July 25th as my AGO day and asked for the day off. I chose July 25th the anniversary of my dad's death to personally memorialize the 12th year of his passing. I created for myself a day to wander and enjoy my surroundings.

Thank you  

Thank you dad for being someone who wholeheartedly sat by me while I animatedly would recount an exciting new thing I learned about. I never realized my overzealous excitement can be off-putting to people. Thank you dad for always encouraging my eternal quest for knowledge and sharing a love of really taking in your surroundings. There is so much more that I’ve learned since we last talked.

Friday, May 12, 2017

Redesign

Customer's old ring.
After a consult with details about ring size and width I made some sketches for the customer to choose a design from. After she decided on the design I got to work carving. I double checked my hand carved wax up next to my sketch, as you can see just above. Afterwards I casted the band and setting seperately using old gold jewellery (additional pieces along with the old ring) melted along with new gold. When incorporating old jewellery to create a new piece there are a lot of factors to consider - in general old rings tend to work well because they do not have solder joints that could degrade the karat of the gold when remelted. Even so, to ensure that the gold has the best working properties I add 50% new gold.    

Here is the new ring!

Wednesday, August 10, 2016

Custom Wolf Pin

Here's where it all begins! I google searched these images, the customer was looking for a wolf that had an expression that was somewhere between ferocious and placid. I blocked out the main shape first.

I love adding detail using relief wax. It helps to have the different colour wax and still achieves crisp detailing.

To the left, to the left.

It's important to know your angles... facing left after casting in sterling silver.
Here is the finished piece, looking pretty badass.

Grrrrrrrrrrrrrrrrrrr. Trying out gradient as a background, yay? or nay?

One more for the road.

Saturday, August 6, 2016

Sunflower Engagement Ring

Mapping out the dimensions/shapes with my sketches as a guide. I made my sketches based on meetings with the customers, discussing all the details and selecting the perfect diamond for the center with them.

Basic shape and dimensions are done on the top, at this point I scheduled an appointment so the customer could try it on to check sizing and to okay the dimensions.

After all the details were added I couldn't resist trying the wax on one last time before casting it in 14 karat nickel white gold.

Just after casting and trimming the sprues (the lumpy parts). I love figuring out the best areas to attach sprues so the metal flows nicely into the piece when I am casting. 

From the back!


After all the filing, emerying, and perfecting each nook and cranny I polished it up and set the diamonds in place. A beautiful .9ct Cognac diamond in the center with 24 accent diamonds around the perimeter and the shoulders of the ring, take a look: 


I am quite happy with my photos, I feel like I am getting a handle on editing them, and I am reminded yet again that practice makes perfect (not there yet, but getting better!)

If only photos could truly capture the brilliance of a diamond... I guess I should be taking video clips, doh! another skill to try out.

I know that I am obsessed and love seeing parts of the process - my phone is filled with either process pics of jewellery and (full disclosure) my cat. Is there any part of the process you would like to get a window into? Let me know!


Wednesday, October 7, 2015

Mood Boards

I have been sitting with ideas and letting them percolate lately. A large part of my creative process doesn't always appear the most creative - to an outsider it's me sitting quietly staring out into space. This morning I sipped my coffee and got to thinking about this year's entry into Jewel Envy's themed competition Winter Wedding. Things are starting to form in my mind...

I wanted to repost the entries I made for last year's competition (Wedding Earrings). I started with my mood boards collecting colours and style inspirations and centered my designs around them. I always get excited to do this type of work because it gets me to step outside of the regular flow of my creative process and center around a specific piece. Each set of earrings is specific to it's mood board.

Lace and Pearls - made with sterling silver and pearls.

Wing Earrings - Sterling and fine silver, enamel, glass.

Chandelier Earrings - sterling silver and garnet beads.


Design inspiration can come from anywhere, and even if you have the slightest inkling of an idea for a custom creation I love to take on new ideas and designs for specific events!